


I was surprised to see the magnet boards (could it be that perhaps they have gained inspiration from us crafters???Gasp ;) LOL. And even more surprised when I saw how much they were charging- $69 for the large size and $39 for the small..wowzers! Creating your own is a fraction of that price. Anyhow, when sprucing up my craft studio recently I thought it would be fun to use some of the accent fabric that I've used on my drapes and memo boards to create these

I created them the same way I did all of my other boards- if you missed the tutorial in the past, you can find it HERE. These are so simple and so fun to create!!!
 Materials Needed:
.Magnet Board .Fabric .ModgePodge/PVA .Scissors .Glass marbles .Magnets .Ribbon
*You can find large metal sheets at your local hardware store and cut it down to size or contact me (I have both large,small, and folded sizes that you can purchase if you would like)
NOTE- The boards I used for my project are 'goofs' from when we were selling them in boutiques. I had left over boards that the paint had smudged on so that is why mine are painted (red, etc) You do not need to paint them...just leave them the plain ol' metal.
*Cut your fabric to size (You just want a little lip on all four sides.

*Apply modge podge or PVA adhesive and adhere to your board. Folding as you would a package (see my tutorial for more instructions/pics)

To create the magnets
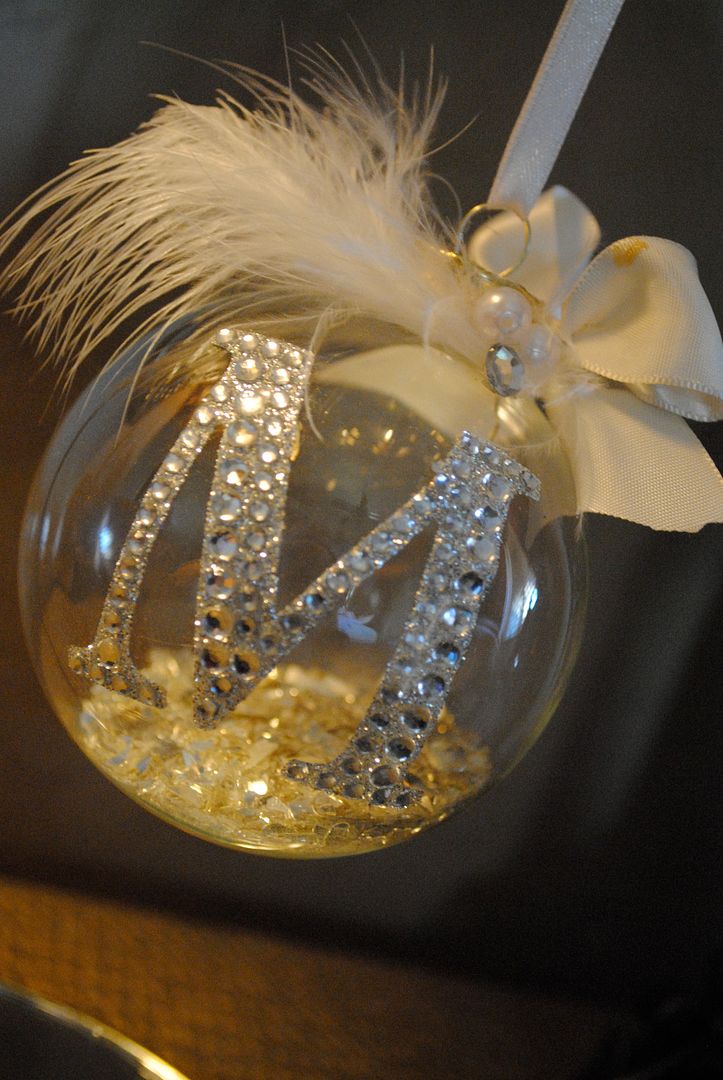
To create the magnets, simply adhere coordinating fabric/paper to the back of a clear glass marble. When thoroughly dried hot glue a magnet to the back of the marble. These are the magnets I used on my boards (I already had them made, as they were left overs from when I made magnet boards for favors for my friends bridal shower I hosted).

Here are the finished products
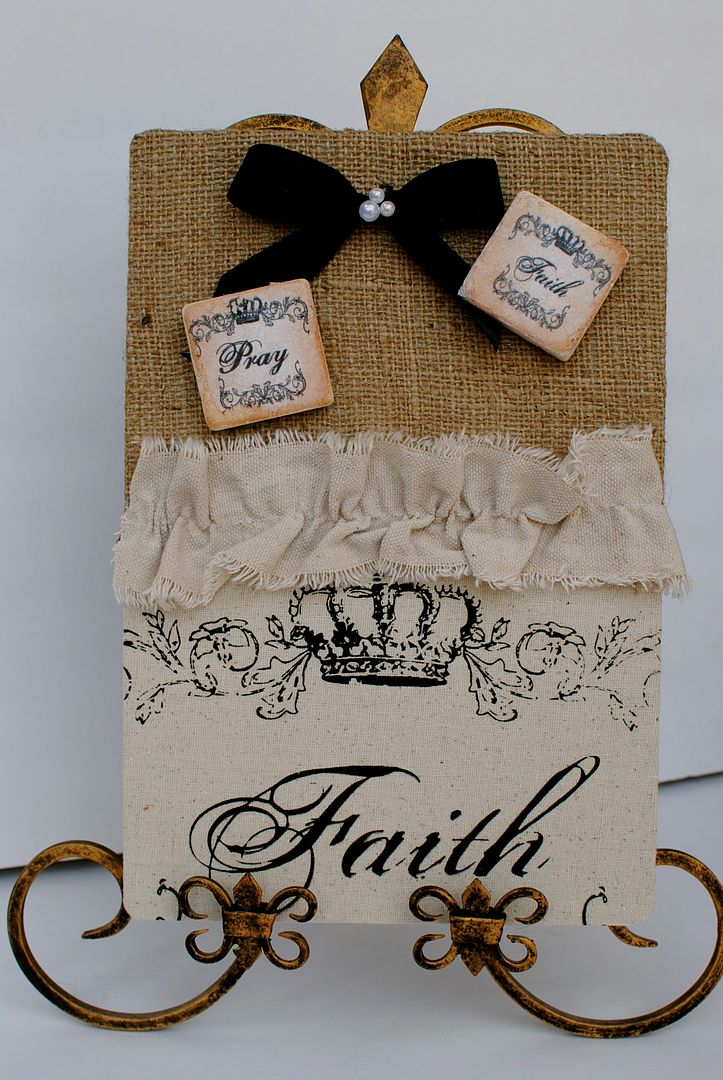
.This one is made out of the same material as my two large memo boards in my studio

.This one is made out of the drapery fabric in my studio

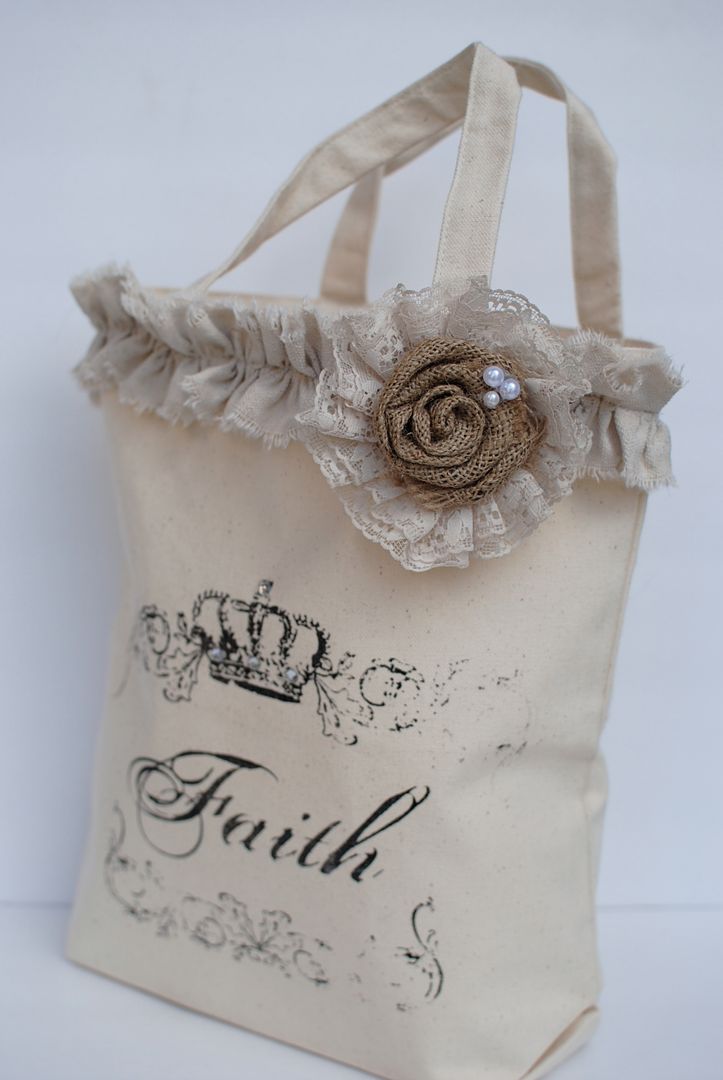
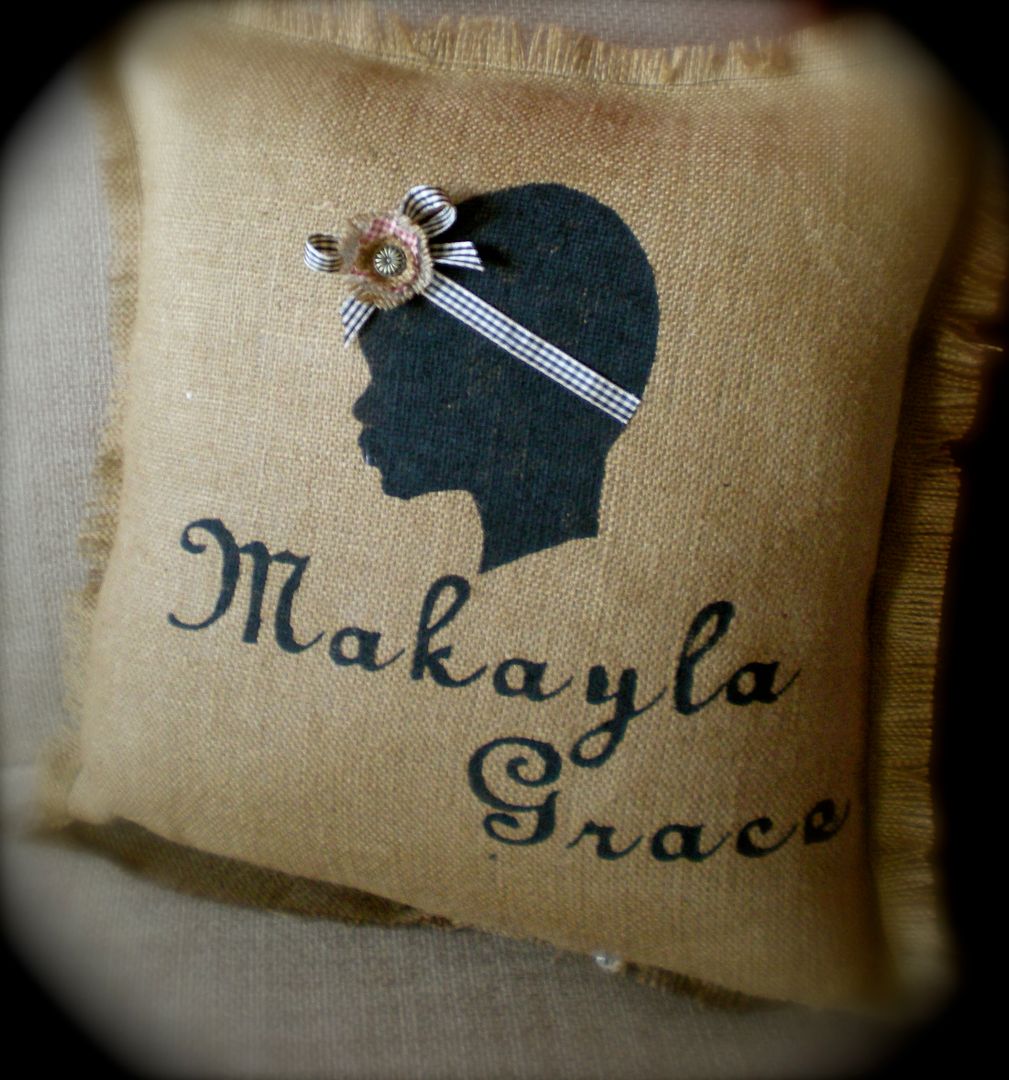
.And this, this one is my absolute fav! It kinda happened by accident by I luv it :). I covered it in burlap with the intentions of spray painting it white...however the burlap kept sucking up all the paint. No matter how many layers of paint I applied, it just would not turn white. I decided to go with it and make it this shabby chic version complete with fabric rolled flowers (another one of my new fav. things to create!)


Linking up to


8 comments:
Very Cute!
Very cute! What a great idea I have some left over duct work I might flatten out and do this with!
stopping by from the CSI project and loving this idea! thanks for sharing!
LOVE LOVE LOVE! And messed up painted magnet boards....I don't have ~any~ of THOSE laying around. lol!! :)
That is so cute. I love the fabric that you used and the sparkly magnets you made. Such a cute idea!
Thanks so much for linking up to The CSI Project's hardware Store Challenge! We hope you will come back next week for the Martha Stewart-inspired challenge -- The MS Craft Department are our guest judges!!!
XOXO
Jen
This is a great project! Thank you so much for linking up to my party!
Great boards & such a cute idea! TFS!
Thannks for a great read
Post a Comment