
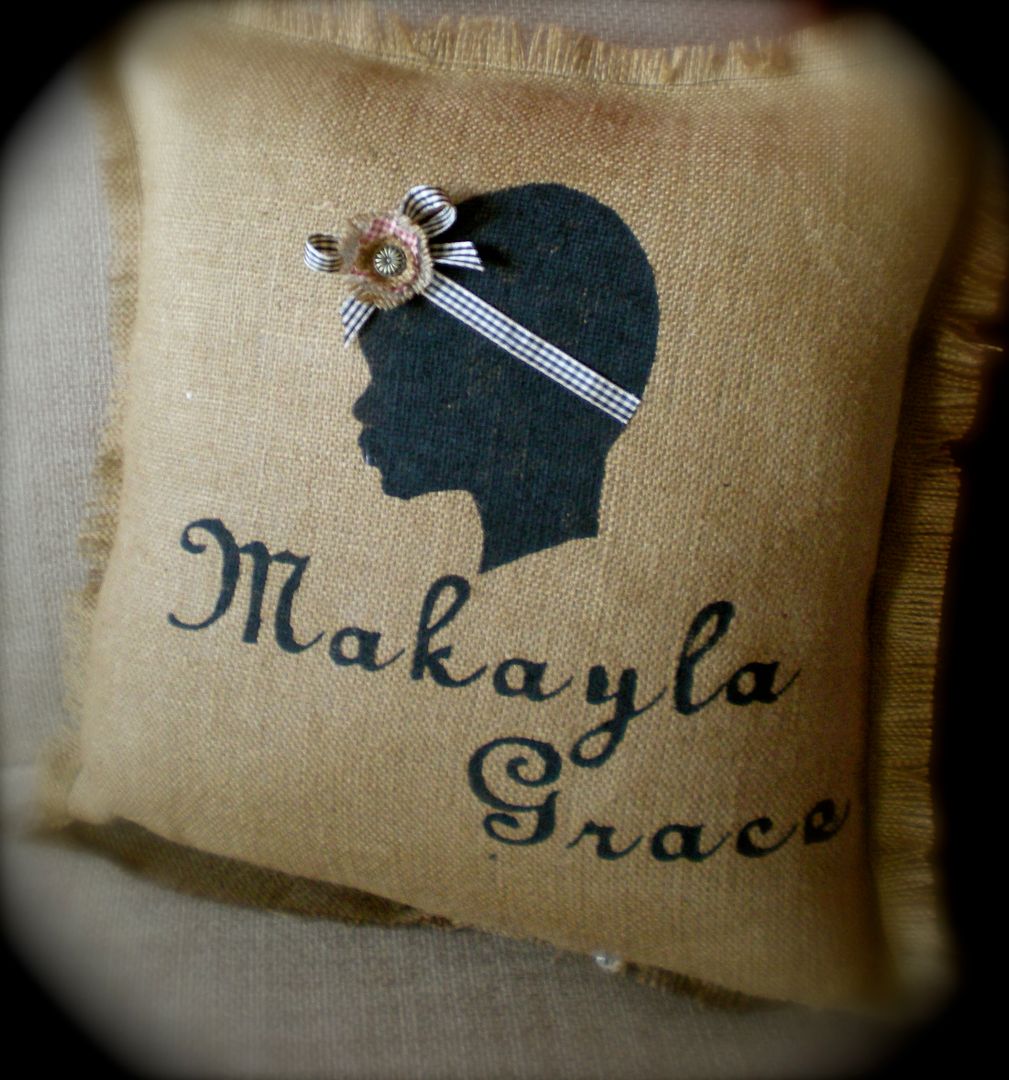


This is the newest addition to my photo wall in my craft studio-

I've seen silhouette's all over blog land and I've been wanting to create one for awhile now...well I finally had the time and let me tell you, it was easy peasy! It literally took less then 10 min. This is how I did it:
- Took a profile pic. of my subject (of course I used my darling daughter for this one :)

- Print out profile pic./

-Cut out pic.

Trace on to black paper

Cut out of black paper

I thought it might be kinda cool to use this flocked damask paper since I'm using a lot of black/white damask in my studio but it looked a bit freaky to me so I decided to stay with the plain black

-Once your silhouette is cut, add it to the foundation of your choosing. I decided to use a silver trey I found at the dollar store for the foundation of my frame.
-Once I got it on the wall, I thought it still needed a bit of femininity so I threw together a bow and headband to add to the silhouette. Now we're talking that looks like my lil sweet pea :)

There you have it, a quick and easy addition to your own families photo wall/shelf/display- give it a try :)
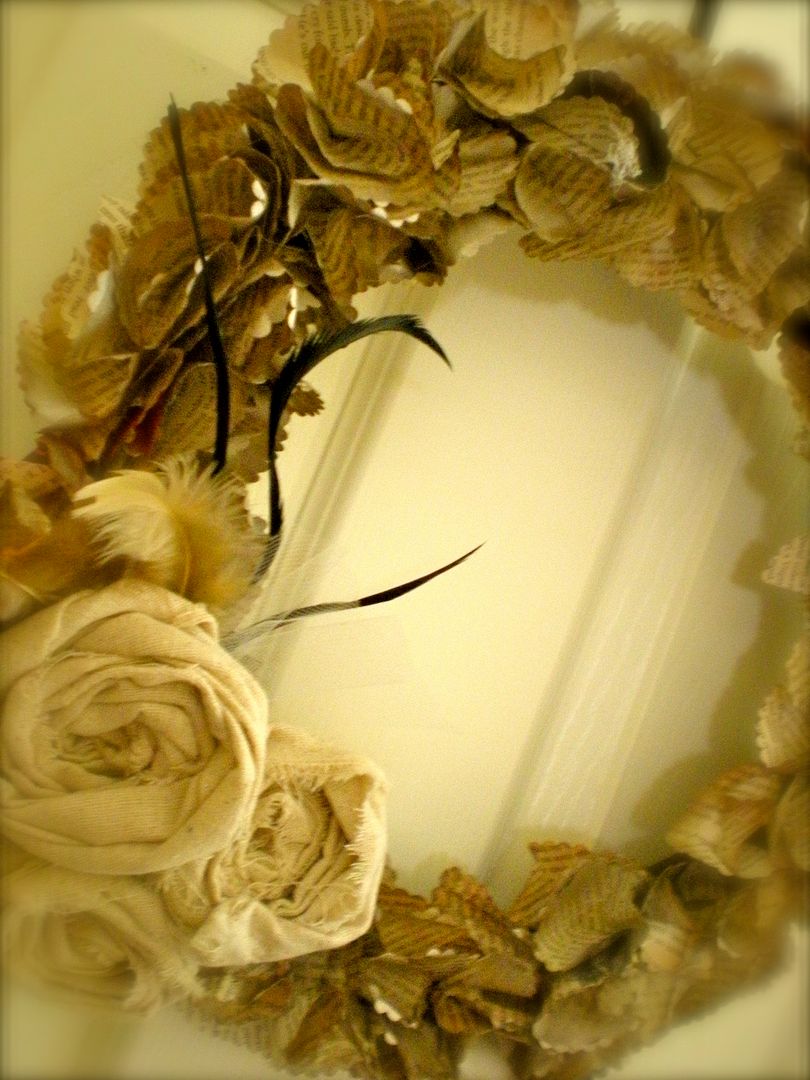
If you are visiting from Linda's blog Craftaholics Anonymous I welcome you. I am honored that Linda is featuring this tutorial on Reader's Week Tutorials. If you like this tutorial make sure to check out some other projects I created using silhouette's; You can find them on my recent post- There is so much you can do with silhouette's...Have fun with it!


1 comment:
Amazing! Talented girl.
Post a Comment